In the embedded development process, because of the lack of keyboard and display, it is difficult for us to operate the hardware directly. At this time, it is a quick and effective method to control the rest of the host through the serial port of one machine.
So for embedded engineers, the UART will not be unfamiliar. Serial port printing debugging is the basis of embedded development.
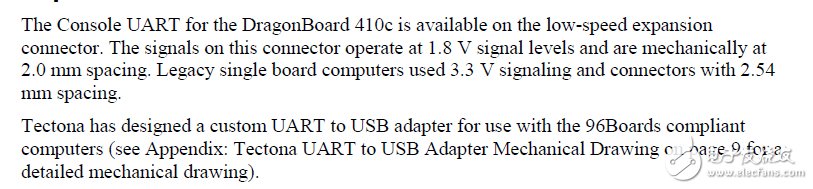
Our DragonBoard 410c doesn't lead to a specific uart interface, but it's not a big deal for a little hardware-based friend.
This article may be a little bit white, I hope to be helpful to beginner friends. :)
The UART is a general purpose serial data bus for asynchronous communication. The bus bidirectional communication enables full duplex transmission and reception.
In embedded design, the UART is used to communicate between the host and the auxiliary device.
The first is the uart to usb adapter
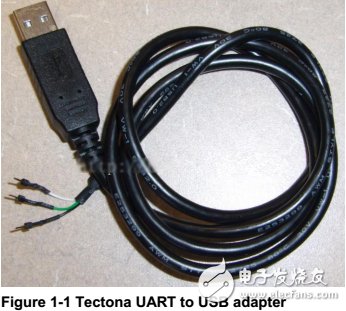
The above module converts the uart data of the lower computer into the usb data and sends it to the upper computer. We can directly use usb into the PC.
The UART uses standard TTL/CMOS logic levels (0~5v, 0~3.3v, 0~2.5v, or 0~1.8v) to represent data. High level indicates 1 and low level indicates 0.
In order to enhance the anti-interference ability of the data and increase the transmission length, the TTL/CMOD logic level is usually converted to the RS-232 logic level, 3~12v means 0, and -3~-12v means 1.
The most accurate connection method is only 3 wires: TxD is used to send data, RxD is used to receive data, and Gnd is used to provide reference level for dual-issue
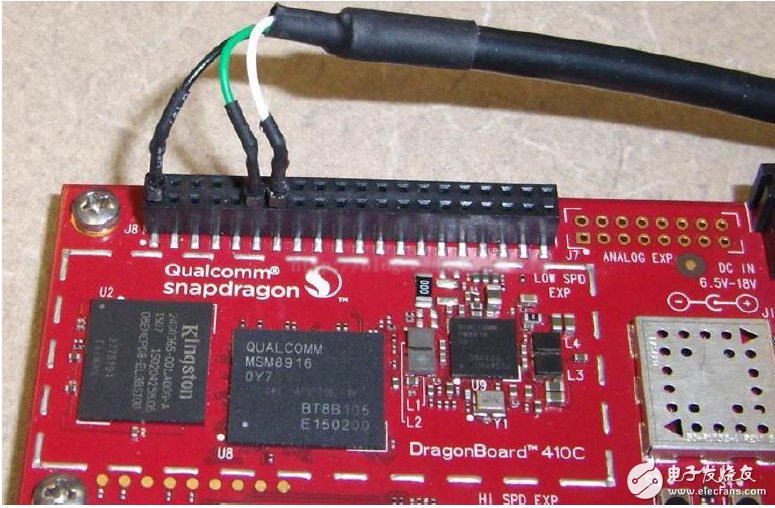
as the picture shows,
We connect the black GND line to pin1;
Connect the green RxD line to pin11;
Finally, connect the white TxD to pin13.
You're done! ! !
At this point we also need the console to install the driver (this step is not required if the PC is a Linux system)
Drivers are available at the following locaTIons:
Windows: http://US/ShowProduct.aspx? P_id=225&pcid=41
MAC OS X: http://US/ShowProduct.aspx? P_id=229&pcid=41
Android: http://US/ShowProduct.aspx? P_id=230&pcid=41
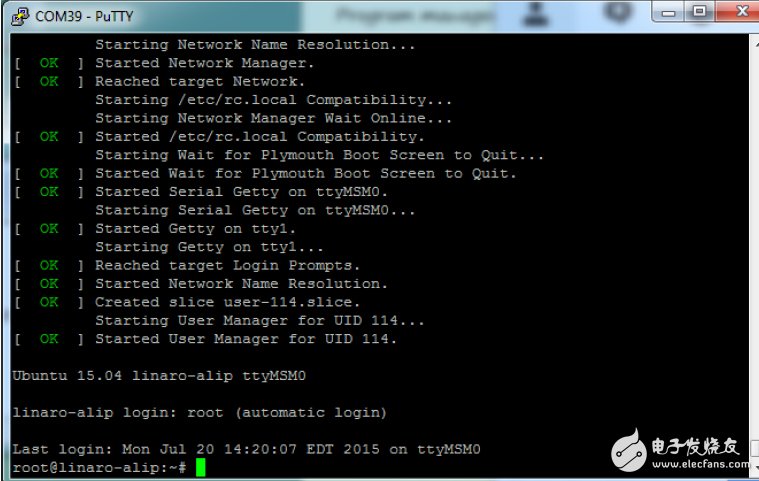
Once the driver is installed, it can be controlled using the serial port tool. Because of the teacher's reasons, I personally used gtkterm under Linux, which is lightweight and convenient.
The picture shows the effect under Windows:
Thunderbolt 3 Cables,Thunderbolt 3 Cable,Fast Charging Thunderbolt 3 Cables,Usb C To Type-C Data Cable
Dongguan Pinji Electronic Technology Limited , https://www.iquaxusb4cable.com